The first moodboard template I downloaded looked perfect on screen. I printed it, and the outer row of pictures lost a strip along the edge, the cells were so small that a paint swatch looked like a postage stamp, and there was nowhere to write what each picture was for.
That is the usual way a free moodboard template fails. It is built around a screen and ignores the sheet of paper in a home printer, and nobody tells you the size of a single cell until it is too late.
This guide is the version I wish I had found first: the print math for a Letter page and an A4 page, which grid fits which kind of board, how to leave room for handwriting, and which file to download so that a moodboard template printable at home actually prints.
Quick answer: a good moodboard template is a grid sized to the paper, with a strip under every picture for a handwritten line.
- Paper: a Letter page is 8.5 by 11 inches, and a home printer leaves about 0.25 inch blank on every side, so the usable area is 8 by 10.5 inches.
- Grid: 2 columns by 3 rows for a room, 3 by 3 for a palette or swatches.
- Cell: on Letter, a 2 by 3 grid gives each picture 3.875 by 2.83 inches once a 0.5 inch label strip is kept.
- File: a PDF to print, a PNG or a Canva frame to edit, a planner page to use on a tablet.
If you build the board on a screen, a frame with ready slots such as 50 Canva Photo Collage Frame Template keeps every picture at one scale.
What a moodboard template is, and the three sizes that matter
A moodboard template is an empty page with the places for pictures already cut out. You drop in photos, colours and textures, and the layout is done for you. That is all it is, and it is why so many of them look alike.
What differs is the size. Three sizes decide whether a template is useful:
- The page: Letter, A4, or a screen ratio. A template made for a screen will not fit a printed page without losing an edge.
- The cell: the size of each picture slot, in inches. This is the number most template pages never print.
- The label strip: the space under or beside a picture for a line of writing.
Look at the template you are about to download and ask for these three numbers. If you cannot find them, assume the cell is smaller than you want.
A ready frame set such as 50 Canva Photo Collage Frame Template carries the grid for you, so the slots are already even and you only choose the page size.
Why the downloaded template prints with a cut edge
Home printers cannot print to the very edge of a sheet. Most leave roughly a quarter inch blank on every side, and the machine either crops the picture or shrinks the whole page to fit.
A template drawn edge to edge runs straight into that. The outer cells lose a strip, the border you liked disappears, and the page looks as if it were cut with scissors.
- Edge to edge design: prints with a cropped border unless the printer supports borderless mode.
- Design with a margin: prints whole, but the picture area is smaller than the page suggests.
- Fit to page: the printer shrinks everything, and the cells come out a little smaller than you planned.
The fix is to plan for the margin from the start. The next section does the sums once, so you do not have to repeat them for every template.
On a screen board the margin is yours to set, and a frame set such as 50 Canva Photo Collage Frame Template lets you move the slots inside it.
The print math: a Letter page, a quarter inch of margin, six cells
Start with the paper. Letter is 8.5 by 11 inches. Take 0.25 inch off every side for the printer and you are left with 8 by 10.5 inches to work in.
Now divide it. A grid of 2 columns and 3 rows, with 0.25 inch between pictures, gives six cells. Each cell is 3.875 inches wide and 3.33 inches tall.
That height is not all picture. If you keep a 0.5 inch strip under each cell for a handwritten line, the picture itself is 3.875 by 2.83 inches. This is a good size for a room photo or a paint chip.
- Letter, 2 by 3 grid: six pictures, each 3.875 by 2.83 inches with a label strip.
- Letter, 3 by 3 grid: nine pictures, each 2.5 by 2.83 inches with the same strip.
- A4, 2 by 3 grid: A4 is 8.27 by 11.69 inches, the usable area is 7.77 by 11.19 inches, and each picture comes out at 3.76 by 3.06 inches.
A 3 by 3 grid looks generous on screen and turns into nine small tiles on paper. Nine pictures at 2.5 inches wide is fine for colour swatches and too small for a room.
A grid that looks generous on screen turns into small tiles on paper, so the cell size is the number to check first.
If you build the grid in Canva, enter these sizes into the frame set, for example 50 Canva Photo Collage Frame Template, and the printout will match the screen.
Pick the grid by the board’s job: room, palette, brand
There is no best moodboard template, only the best grid for the job on your table. Here is the one I choose for each.
- A room or a renovation: 2 by 3. Six large pictures are enough to show a wall, a floor, a fabric, a light, a piece of furniture and one object. A moodboard template interior design projects can use needs the large cell, because a contractor has to see the surface.
- A colour palette: 3 by 3. Nine small cells hold swatches, and the size does not matter when the picture is only a colour.
- A brand or a project: one large picture and four small ones. The large one sets the mood, the small ones give the logo colours, the font, the texture and one photo.
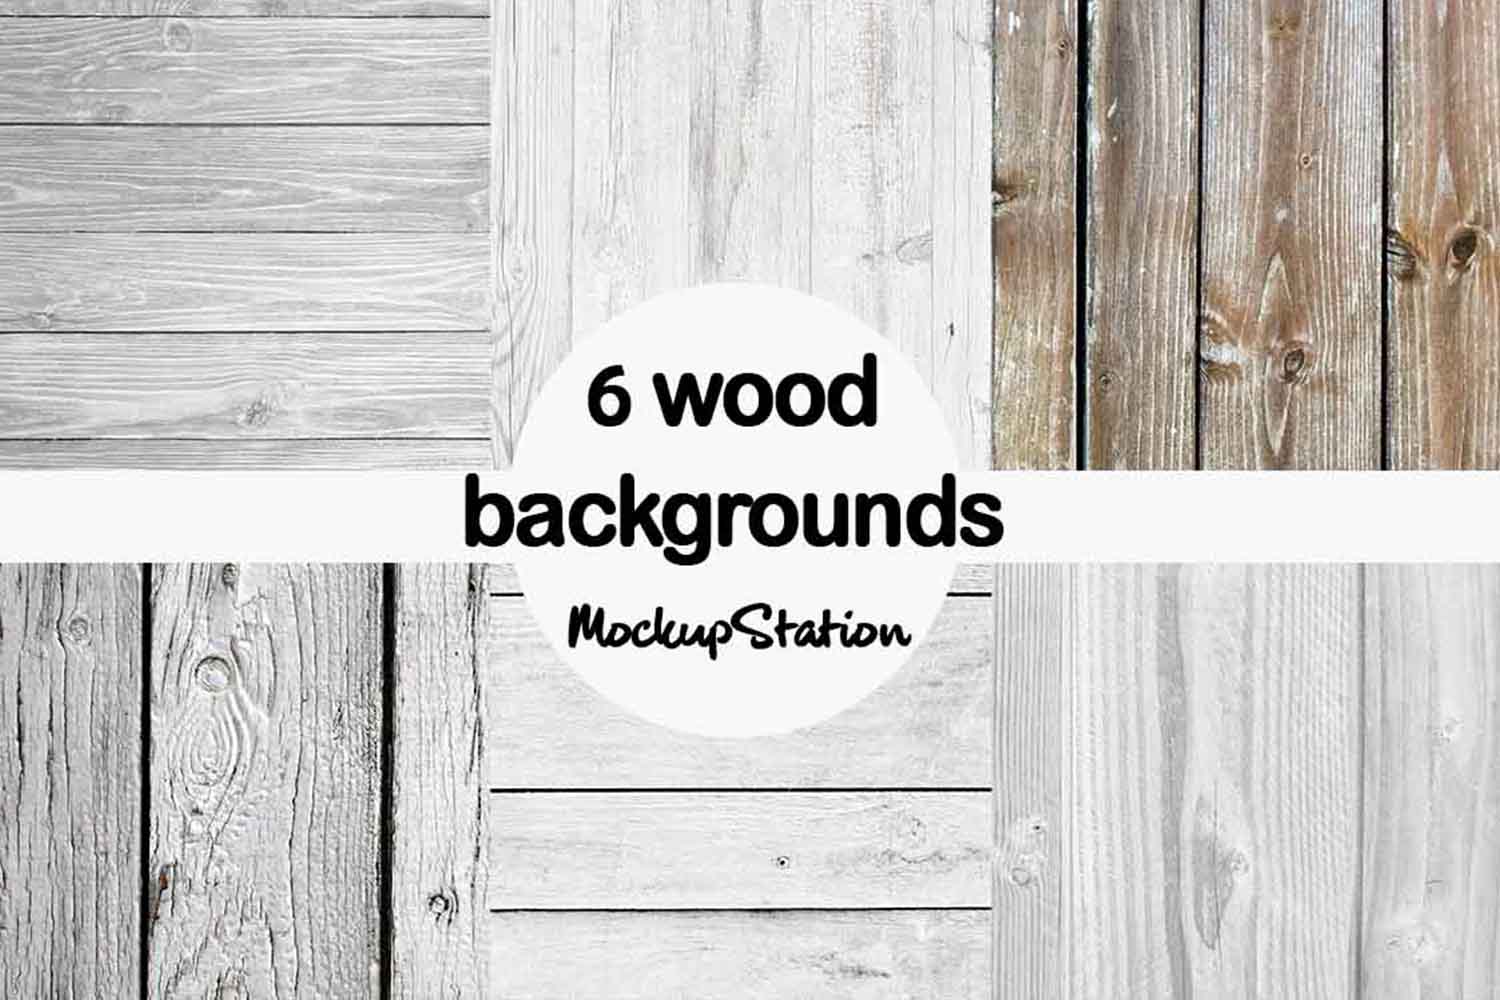
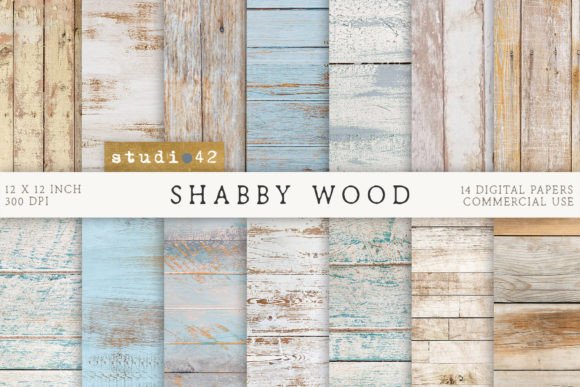
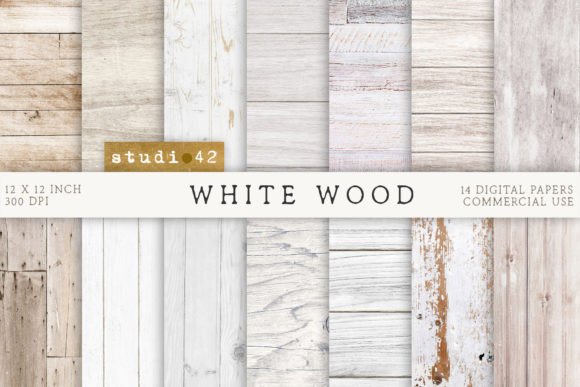
If you are unsure, take the 2 by 3 grid. It is easier to make a large picture smaller than to make nine tiles readable. For the room board, a pale wood base such as Gray Wood Background Paper Bundle sits behind six large pictures without competing with them.
Leave a strip under every cell for handwriting
A board full of pictures tells nobody what you meant. A line of writing under each one does. It can be as short as “bedroom wall, matte” or “kitchen floor, not this wood”.
That is why a blank moodboard template needs a label strip, and why the cell sizes above subtract 0.5 inch for it. Half an inch fits one line of ordinary handwriting or a small printed caption.
- Write where it goes, not what it looks like. “Hallway floor” is a decision; “nice wood” is not.
- Write one line. If it needs two, the picture is trying to do two jobs.
- Write in pencil first. You will change your mind about at least one picture.
On a screen board, the same strip can hold a tape-style label. Digital tape such as Washi Tape Mockups for Canva holds a caption in place and makes the page look made by hand.
A moodboard template in Canva: frames that hold the pictures
A moodboard template Canva users can edit is the answer most people want when they ask where to create a moodboard online. It runs in a browser and on a phone, and the grid is only a set of frames.
The steps are short.
- Set the page to Letter or A4 so the size matches the paper you will print on.
- Add a frame set with the slots you want, 6 for a room or 9 for a palette.
- Drag a photo onto each slot. It snaps to the size of the frame.
- Add a text box under each one for the label.
- Download as a PDF for printing, or as a PNG to share.
A ready frame set saves the part that goes wrong by hand, which is the alignment. 50 Canva Photo Collage Frame Template is built for exactly this: slots that stay even, so the board reads as one page and not as a pile.
Check the page size before you place anything. A frame set made for a square post will not fill a Letter page, and stretching it changes the cell sizes you just worked out.
Free moodboard template: what the free file never includes
A free moodboard template is a fair start, and I have used many. A moodboard template free of charge still has limits. They are usually an empty grid in a design program, and they leave out the things you need for a finished board.
- The background: a bare white grid looks unfinished. A paper or wood texture under the pictures makes it one object.
- The frames: free files often give plain rectangles, with no mats, borders or tape.
- The format: a file for a program you do not own is no help. Check what it opens in before you click download.
- The licence: a free file is not always yours to hand to a client. Read what you are allowed to do with it.
A texture bundle such as Gray Wood Background Paper Bundle fills the missing background, and a tape set such as Washi Tape Mockups for Canva adds the missing finish.
People also ask whether they can use the photos and fonts that come with a template, and whether they can use them for clients. The answer is on the licence page of that file, and if it is silent, treat the answer as no.
Paper texture and washi tape: the background that makes a printout look finished
The difference between a grid and a board is what is behind the pictures. A flat white page looks like a form. A textured page looks like something pinned up on purpose.
Two kinds of background do most of the work.
- Wood: a pale grey wood grain works as a table top that the pictures lie on. A set such as Gray Wood Background Paper Bundle gives you several tones in high resolution, which prints cleanly at full page size.
- Paper: a soft cream or watercolour sheet, for a gentler look.
- Tape: a strip of washi tape across a corner of each picture, which hides the join and adds a little colour.
Choose one background and one tape colour for the whole board. Three textures on one page is the quickest way to make it noisy.
A digital moodboard template for Goodnotes and a tablet
Some people never print. They keep the board on a tablet, next to the plans and the lists, and write on it with a pencil.
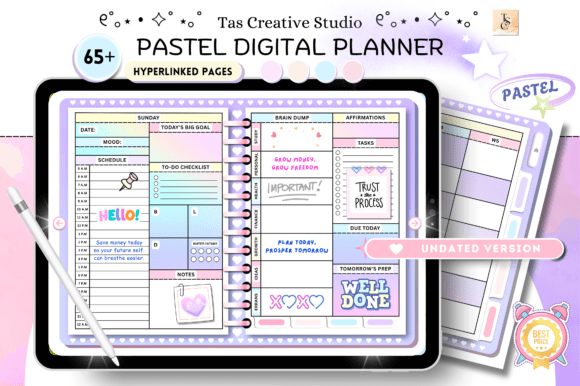
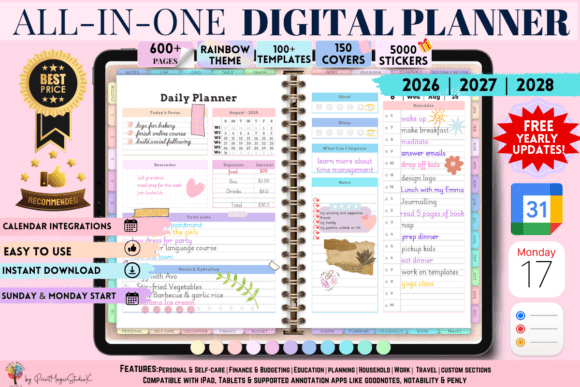
For that, a planner file is a better base than a loose image, because it already has pages, tabs and room to write. An all-in-one planner such as All-in-One Digital Planner, Goodnotes lets you paste your board on a page, keep the notes beside it and flip to the next room.
- Paste the board as an image and write labels with the pencil tool.
- Keep one page per room so each board stays at its own scale.
- Export a PDF when you need to send it to someone who does not have the app.
The same cell sizes apply. A tablet screen is wider than a Letter page, but if you plan to print later, design for the paper and let the screen be the bonus.
Which file to download: PDF, PNG or a Canva link
The file type decides what you can do next, so choose it before you click.
- PDF: best for printing. It keeps the page size, and nothing moves.
- PNG: best for sharing on a phone or putting into another design. It cannot be edited, so keep your source file.
- A Canva link: best for editing. You change pictures and text in a browser, and download when it is done.
- A design file from a program you do not own: skip it, however nice it looks.
If you print the template, set the printer to actual size and not “fit to page”. That one setting keeps the cells at the size you calculated.
Mistakes that make a template unusable
- Not checking the page size: the template is made for a screen and the printout is cropped.
- Too many cells: nine tiles on a Letter page where six would show the room.
- No label strip: every picture has to be explained out loud afterwards.
- Mixed backgrounds: wood on one side, paper on the other, tape in three colours.
- Printing on “fit to page”: the cells shrink and the margins change.
- Using photos you have no right to: fine for yourself, a problem when the board goes to a client.
All six are easy to avoid once you know the size of the page and the size of the cell.
Moodboard template FAQ
What size is the template?
It should say, and many do not. For a printed board, plan on a Letter page, which is 8.5 by 11 inches, or A4, which is 8.27 by 11.69 inches, with about 0.25 inch lost to the printer margin.
What is the best moodboard template?
The best one is the one whose grid matches the job: 2 by 3 for a room, 3 by 3 for a palette, and one large picture with four small ones for a brand.
How do I make a moodboard template?
Set a page to Letter or A4, divide the usable area into equal cells with 0.25 inch between them, keep a 0.5 inch strip under each cell for a label, and save the page as a PDF.
How do I create a mood board template for interior design?
Use six large cells, 2 columns by 3 rows. Fill them with a wall, a floor, a fabric, a light source, one piece of furniture and one object, and write where each goes.
Where can I create a moodboard?
In Canva, in a browser or on a phone, with a frame set like 50 Canva Photo Collage Frame Template, or on paper with a printed grid. Both work, and the choice depends on whether you want to edit the board or hold it.
How do I use Canva to make a moodboard?
Choose a Letter or A4 page, add a frame set with the slots you need, drag a picture onto each slot, add a text box under it and download the page as a PDF or PNG.
Can I use these for my clients?
Only if the licence of the file says so. A free file often covers personal use and stays silent about client work, and silence is not permission.
Can I use the photos and fonts that come with a template?
Check each one. A template can be free while its photos and fonts have their own terms, so read the licence page before you send the board to anyone.
Is there a moodboard template I can print at home?
Yes. Look for a PDF made for Letter or A4 with a margin built in, and print it at actual size, not “fit to page”.
Do I need Figma for a moodboard template?
No. A design program helps if you already use it, but a board in Canva or on paper does the same job for most home projects.
What is a good moodboard template for a blank start?
A blank grid with a margin, six cells and a label strip under each. Add a paper or wood texture behind it, such as Gray Wood Background Paper Bundle, and the page stops looking like a form.
Key takeaways
The method fits in a list you can use this evening.
- Know the three sizes: the page, the cell and the label strip.
- Plan for a 0.25 inch printer margin on every side.
- On Letter, a 2 by 3 grid gives each picture 3.875 by 2.83 inches.
- Use 2 by 3 for a room, 3 by 3 for a palette.
- Keep a 0.5 inch strip under every picture and write where it goes.
- Choose one background texture and one tape colour.
- Download a PDF to print, a PNG or Canva link to edit, and print at actual size.
For a finished board, a frame to hold the pictures and a wood base under them are enough: 50 Canva Photo Collage Frame Template for the slots and Gray Wood Background Paper Bundle behind them.
If you are making a board for goals and not for a room, the method differs and lives in the vision board ideas guide, the mood board ideas guide covers boards that are not about a room, and the about page explains who writes these pages.